Workbench Tools
In this course, you'll discover the different Toolsets of the IBM DevOps Solution Workbench and see their functionalities.
Solution
The Solution Designer is the central workspace for creating and refining solution designs within the IBM DevOps Solution Workbench. It provides structured modeling tools that allow architects, domain experts, and developers to collaboratively define system architecture, service boundaries, domain models, and architectural decisions.
The Designer stores design intent as structured, machine-readable artifacts that your coding assistant can work from directly. This means architectural decisions, domain relationships, and implementation standards defined in the Designer travel automatically into your IDE — giving your AI the context it needs to generate code that fits your system.
⚠️ New content coming soon!
Some content on this page reflects earlier versions of the IBM DevOps Solution Workbench and will be updated soon.

The Solution CLI provides a command-line interface for direct interaction with the development and runtime environments. It supports tasks such as pushing and pulling code from Git repositories, running and debugging services locally while connected to an OpenShift cluster, and managing SDK updates. This allows developers to efficiently bridge the gap between local development workflows and cloud-based deployments.
The Solution CLI described below was part of the Managed Stacks workflow. It is no longer required for the new AI-assisted development approach — your coding assistant and IDE are all you need. This content will be updated soon.
Exercise
Estimated time: 5 minutes
Exercise goal: You will become familiar with all functionalities of the different IBM DevOps Solution Workbench Toolsets
-solutionDesigner
In this part of the exercise, we will explore the Solution Designer, the primary environment for modeling business domains, creating service projects, and managing shared solution assets. It enables collaborative design between domain experts and developers while keeping generated code automatically aligned with the domain model.
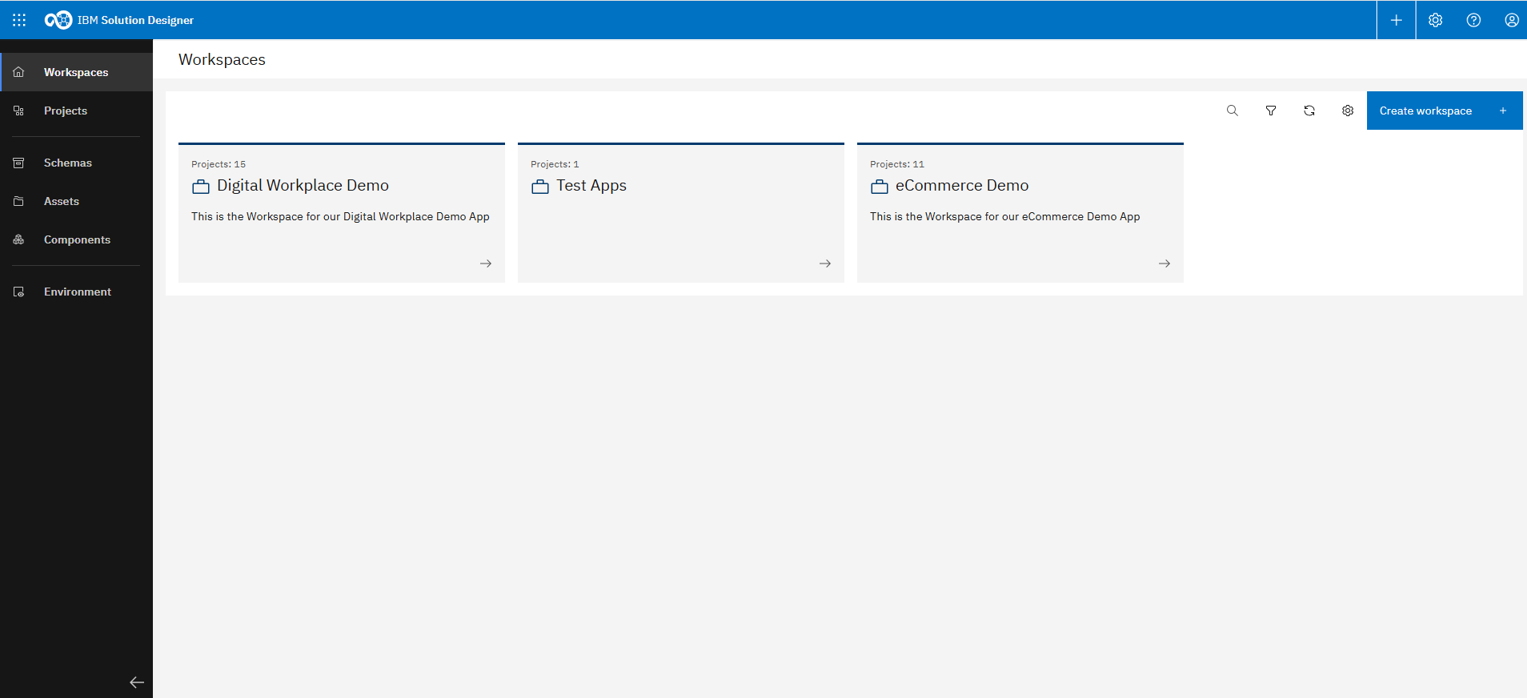
The Designer landing page provides quick access to all main features

Account settings are located in the top-right corner

The Help section is available on the left, offering guidance and documentation
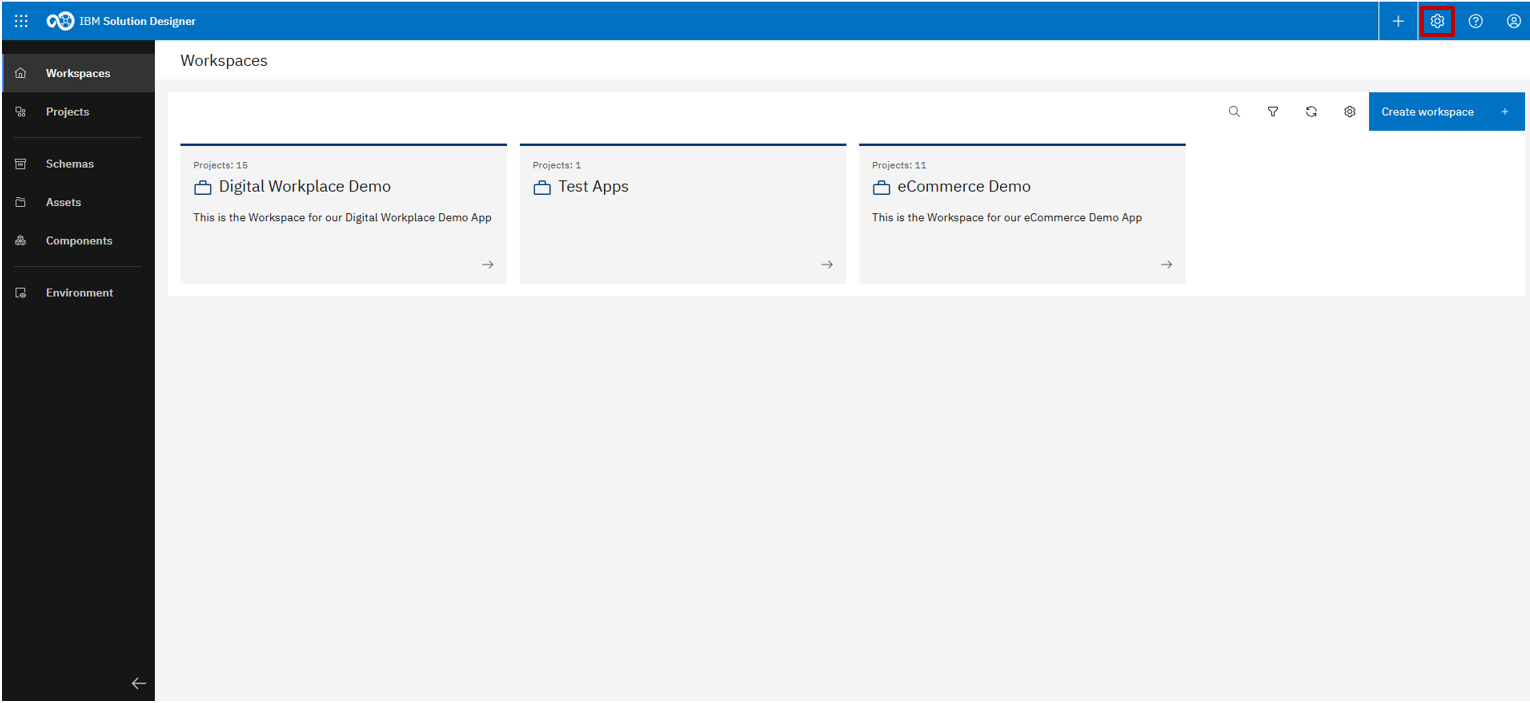
To the left of the Help section, you'll find the main settings

The last icon at the top opens a quick action menu to create new workspaces, projects, or schemas

The top-left element navigates to your workspaces
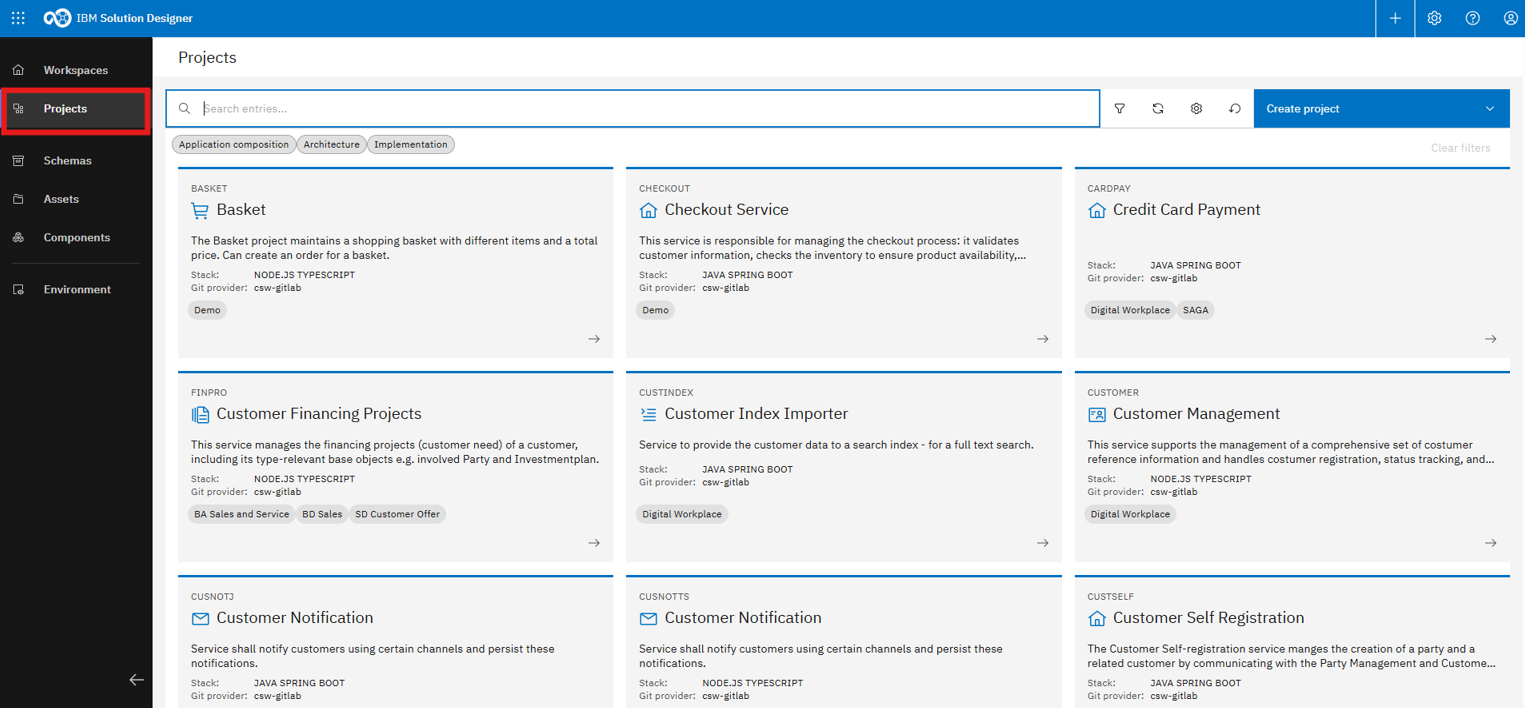
Below that, you'll find a list of all existing projects
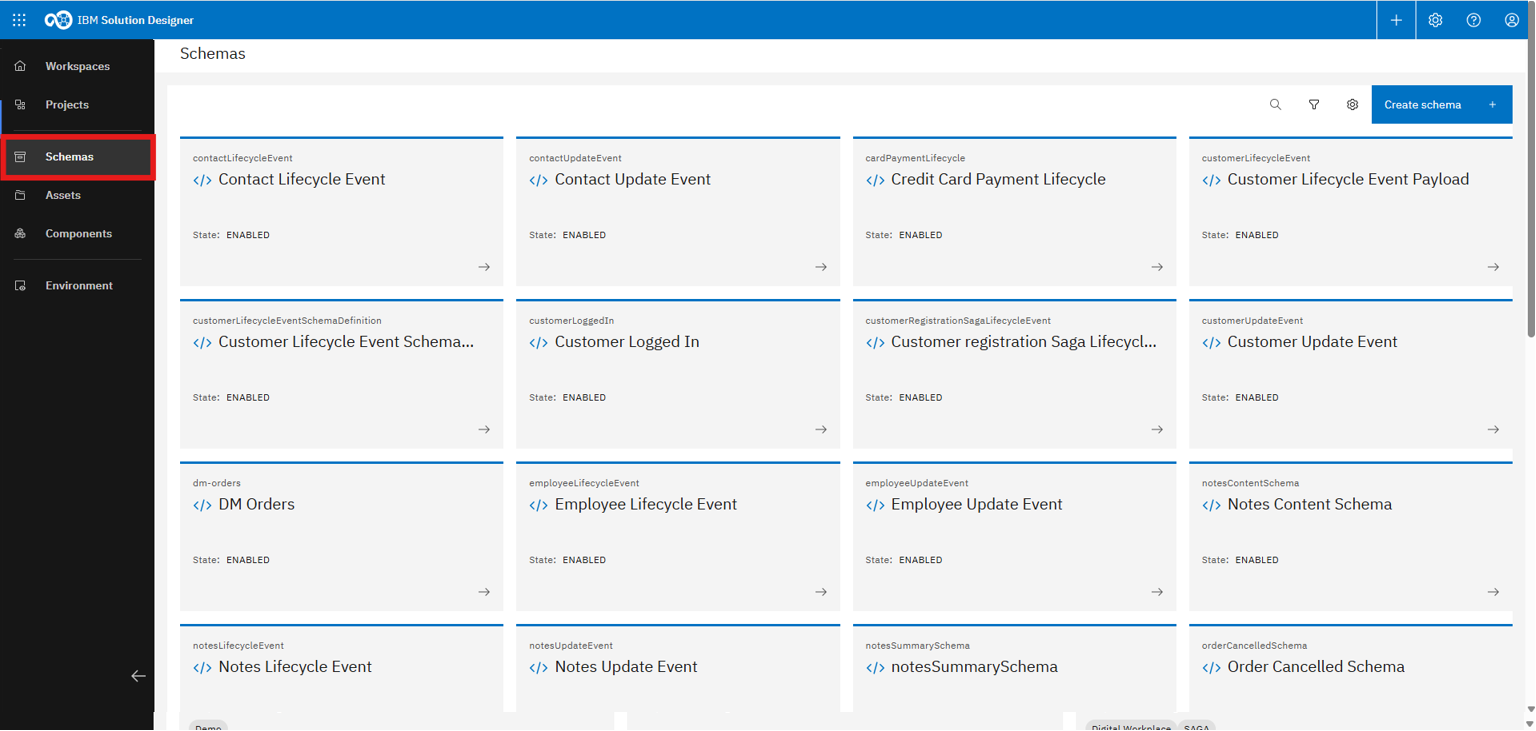
The center area displays an overview of all schemas
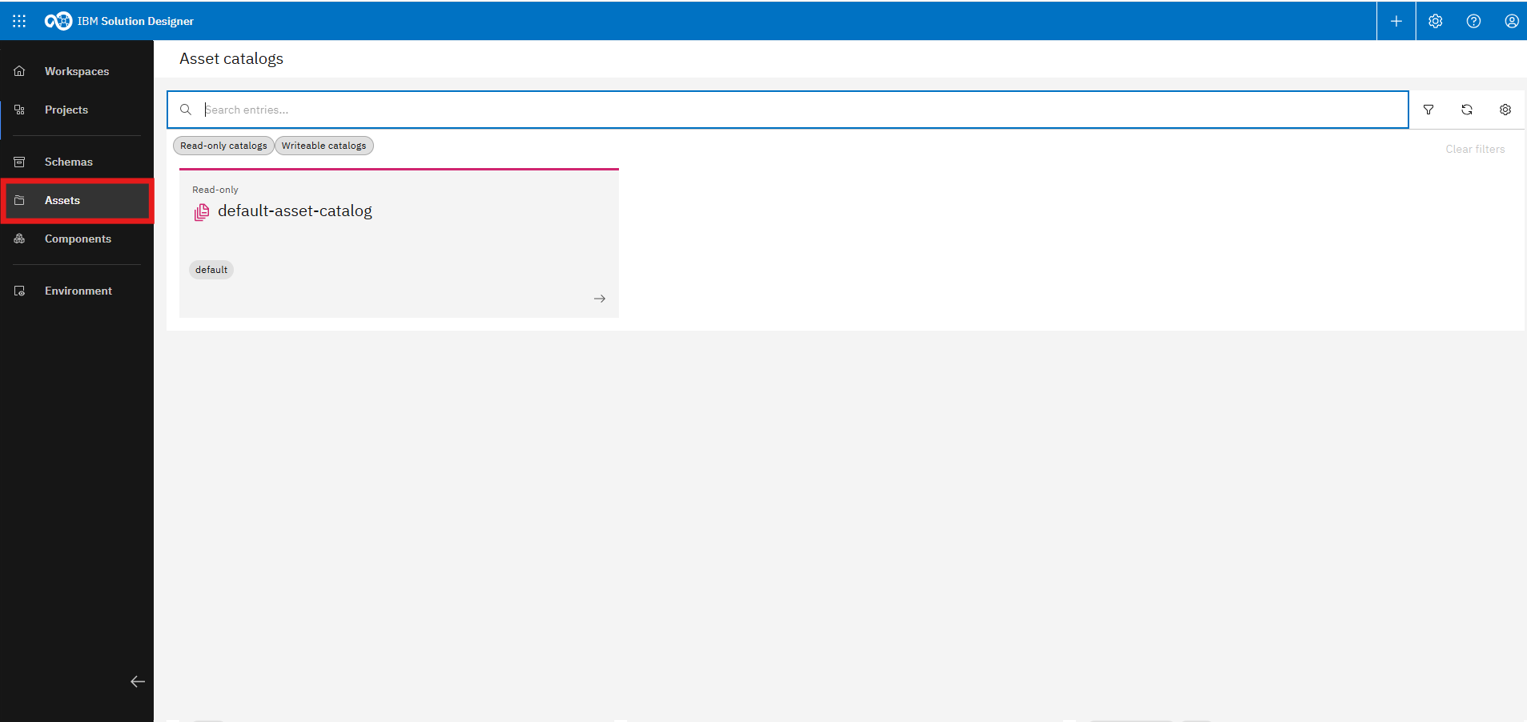
Asset catalogs are shown below the schema section
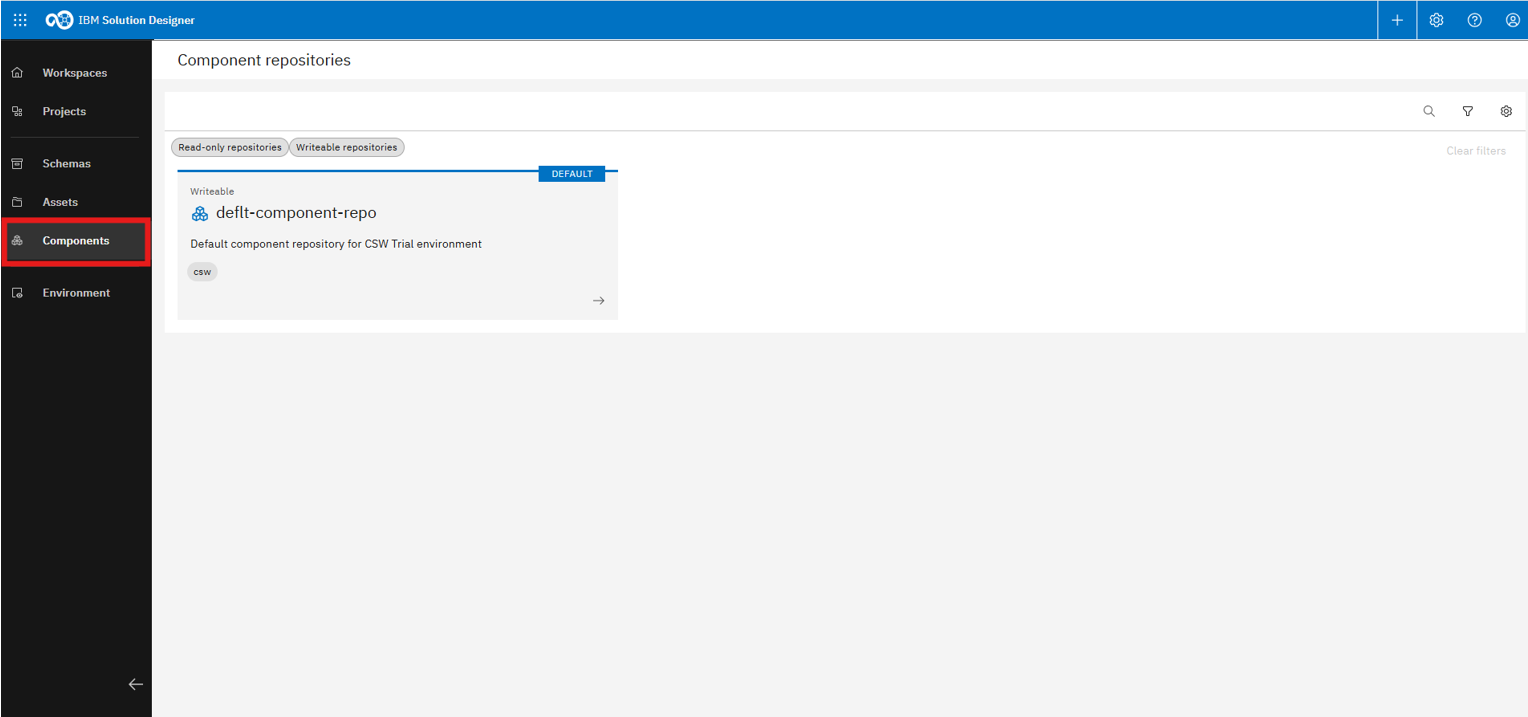
The last item in the middle is “Components,” which includes all component repositories
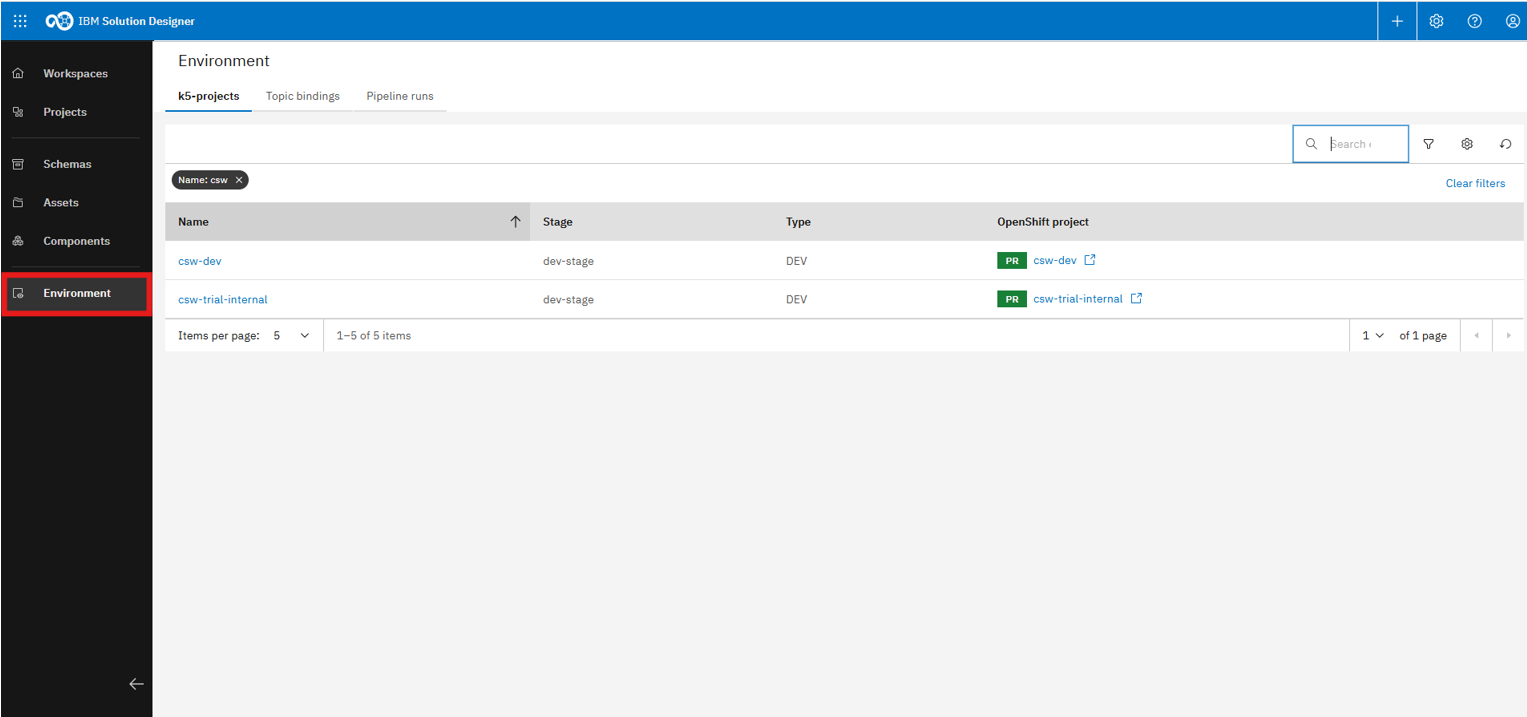
At the bottom left, you'll find Environment page, which provides access to all k5-projects
Environment page
Here, we will take a closer look at the operational interface for managing OpenShift k5-projects. It provides visibility into deployments, pipelines, topic bindings, and resource usage, enabling smooth monitoring and configuration of running solutions.

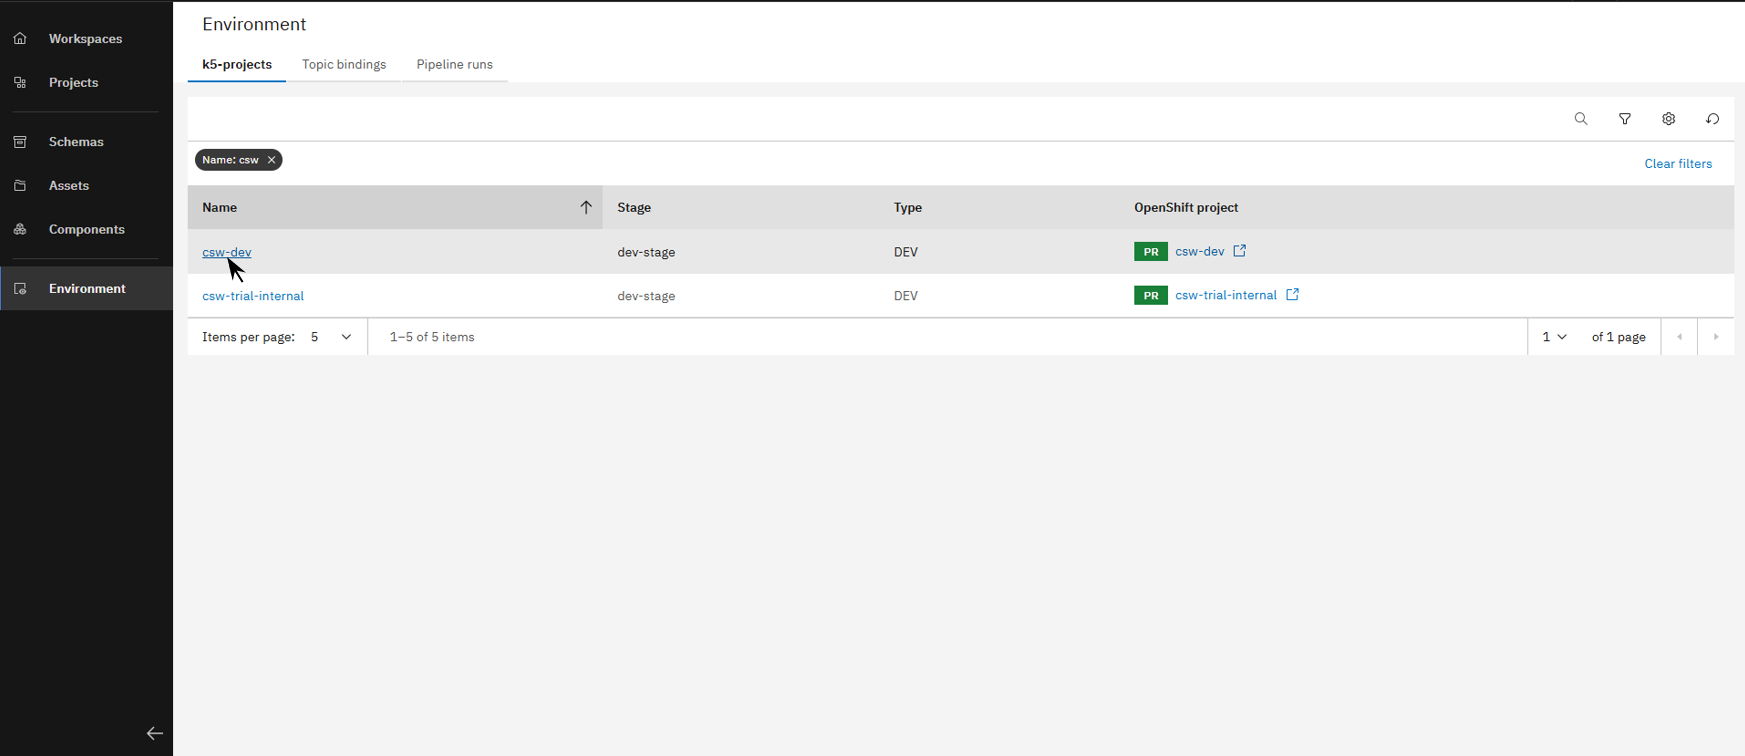
The landing page lists all k5-projects in your environment
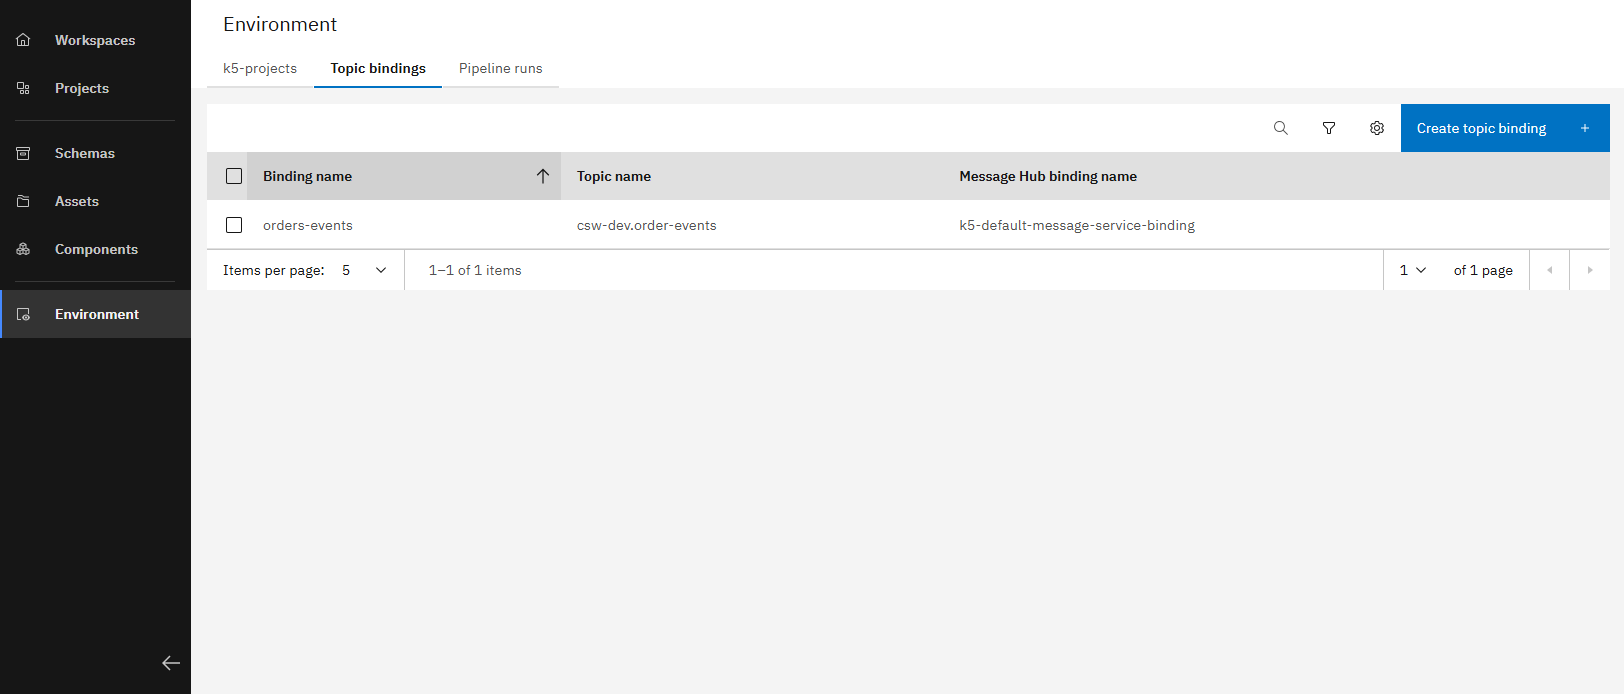
The Topic Binding overview allows you to create, edit, and delete topic bindings
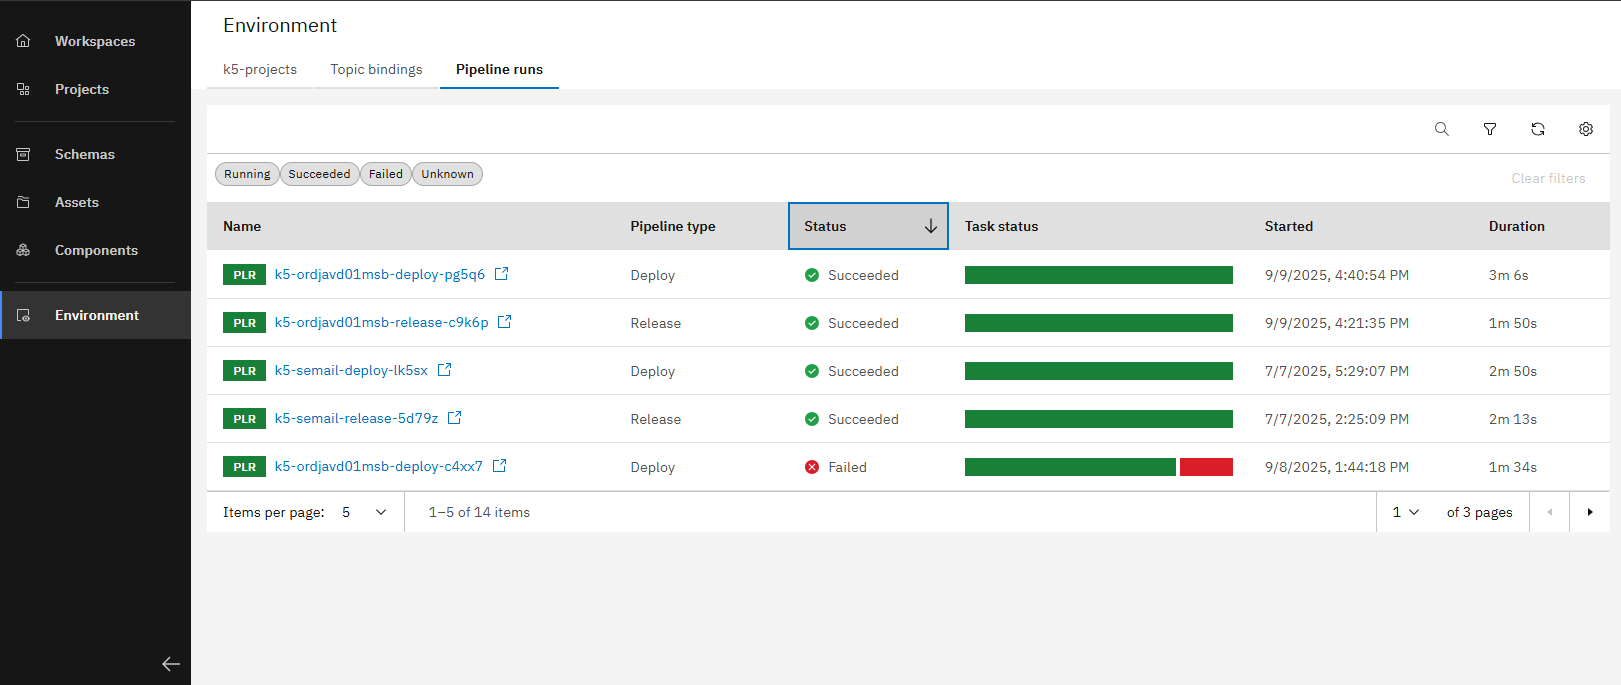
The "Pipeline Runs" tab shows all current and past pipeline runs in your environment
After reviewing the environment view, we will now explore an individual application to see how its deployments and components can be managed and monitored.
Open a project to access the application overview

Here you'll see all current application deployments, and when expanded, their components and details
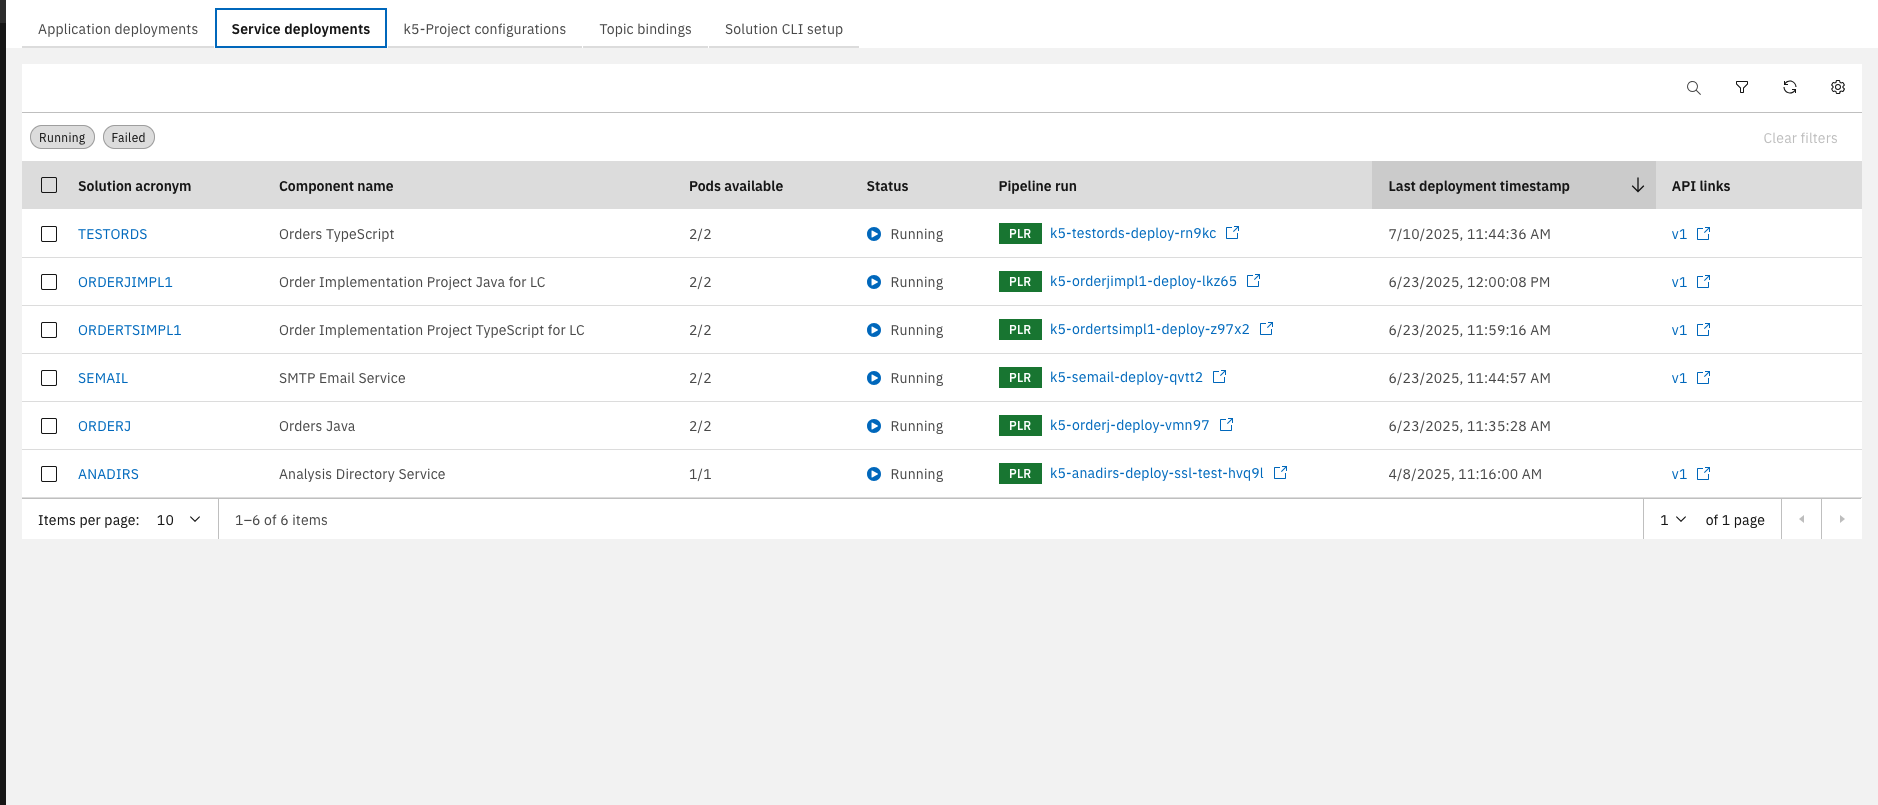
In the "Service Deployments" tab, you can view all services and details. API links open directly in Swagger UI
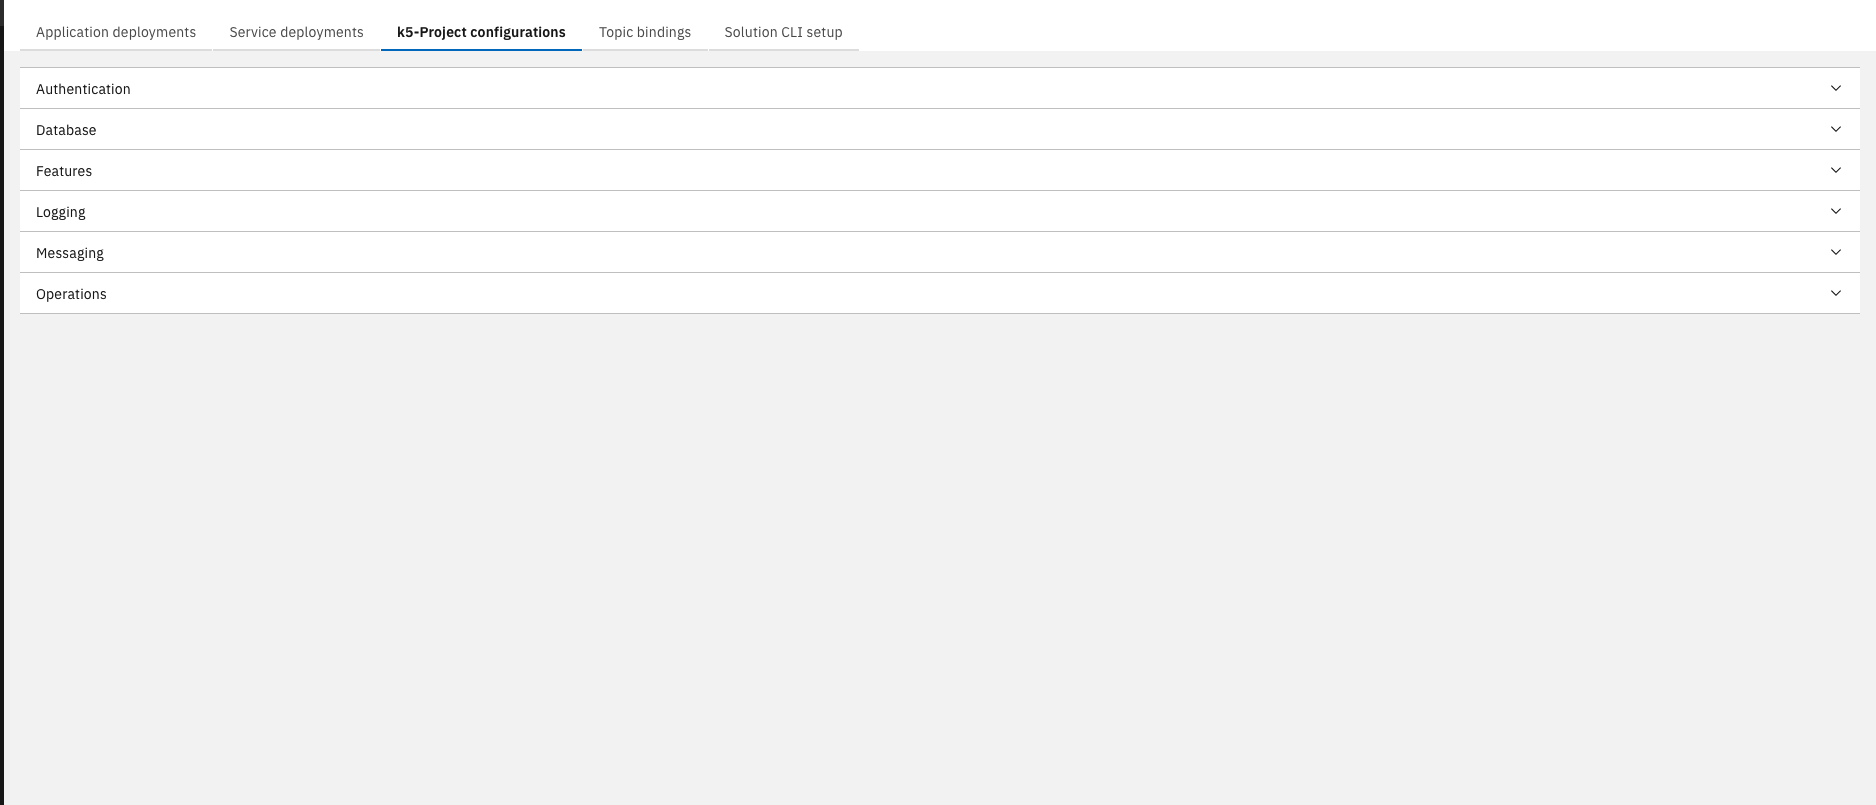
The k5-project configuration area lets you customize applications, databases, features, logging, messaging, and operations
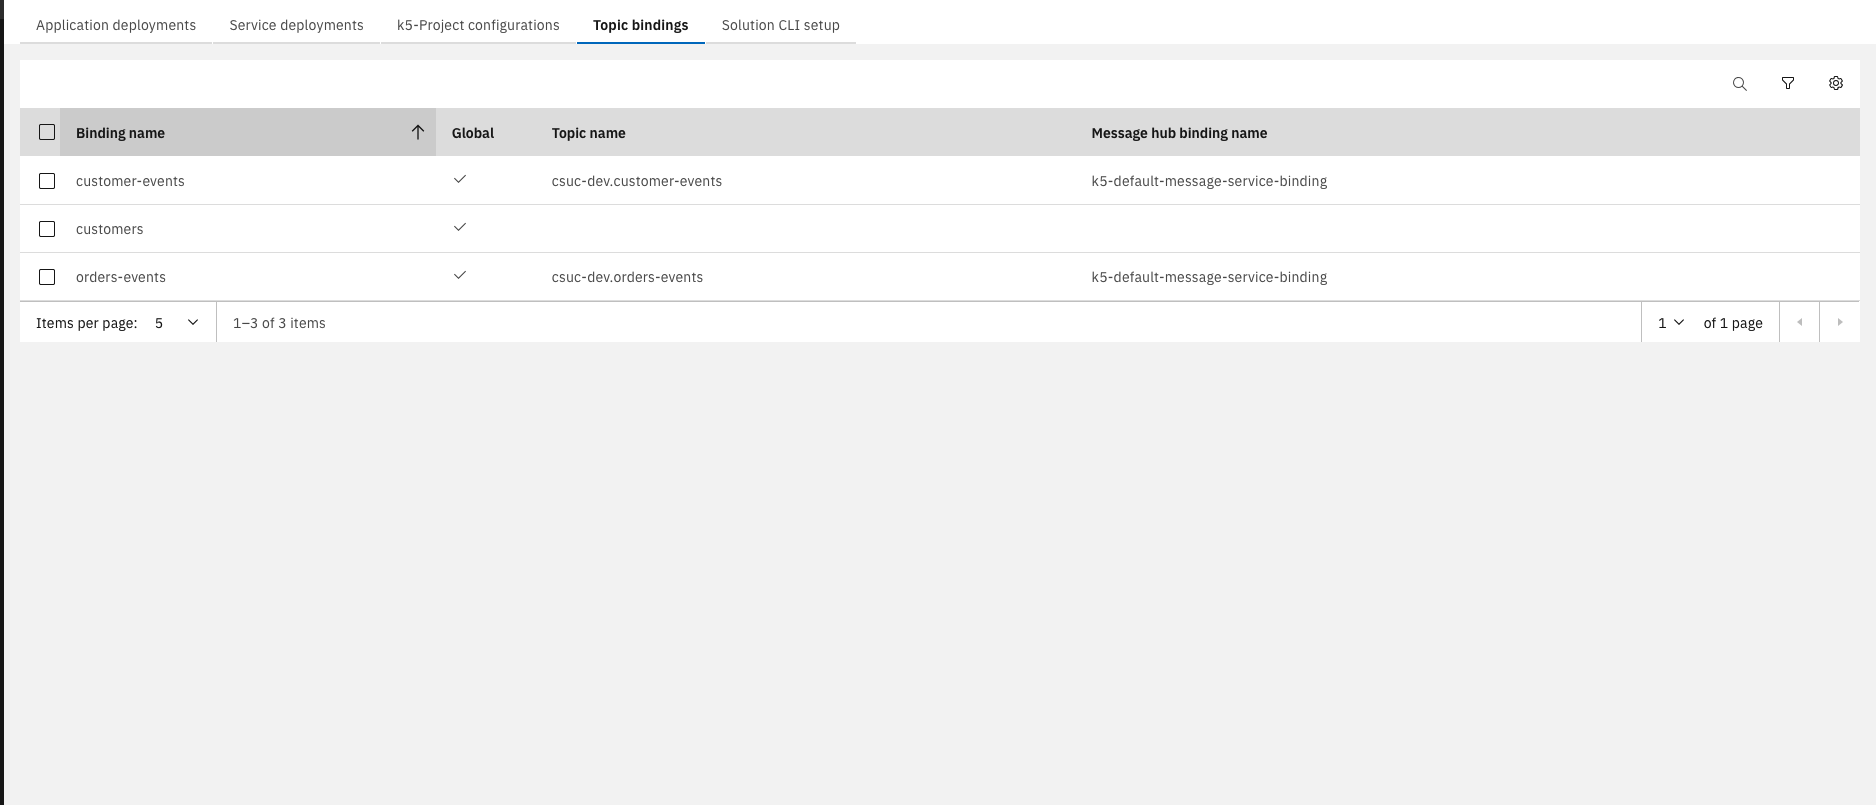
This section also includes a Topic Binding overview, showing only bindings for the current k5-project
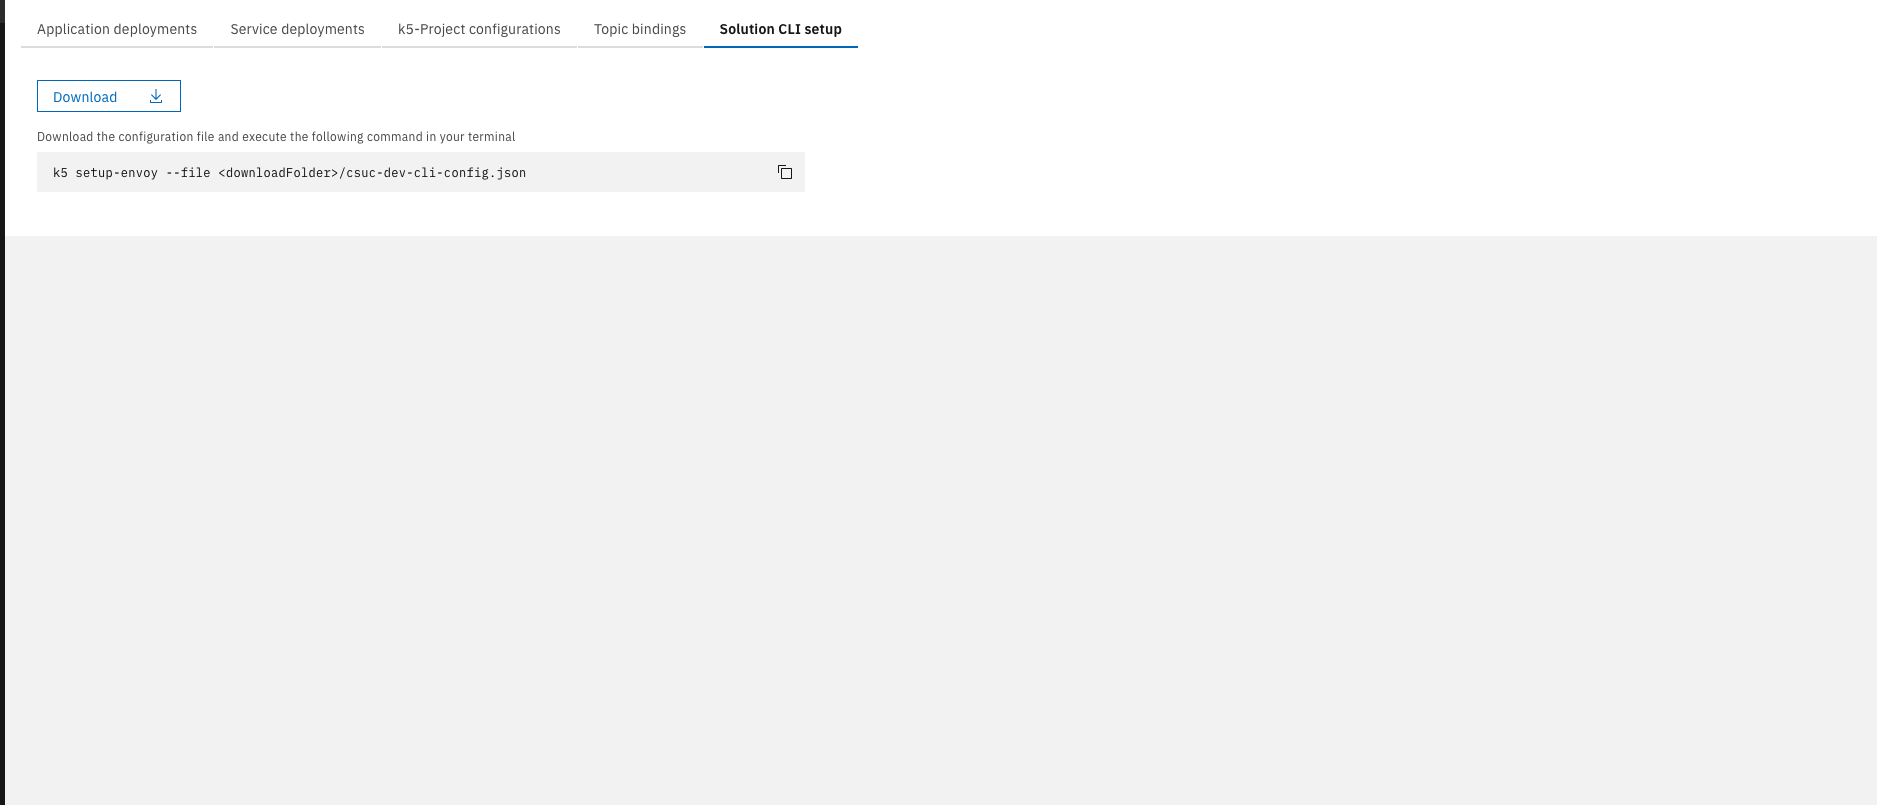
Lastly, you'll find a brief guide on setting up the Solution CLI
Solution CLI
The Solution CLI is a command-line tool for integrating local development with cloud environments. It supports code synchronization, local debugging connected to OpenShift, and SDK management to keep development environments up to date.
If you have not installed the Solution CLI yet, please expand this section and follow the instructions.
Setup for Managed Stack projects
The steps below are only required if you are working through the Managed Stack training content.
Description
For the implementation of any Managed Stack Service project, it is mandatory to install the Solution CLI and clone the project with it. The CLI contains useful commands to manage the implementation of your services and is necessary to generate the service's code on the basis of your Service design in the Solution Designer. You can find a more detailed explanation along with the available commands in our product documentation.
The steps below are only required if you plan to complete the implementation exercises in the Managed Stack Service training.
- Ensure that you have setup the necessary prerequisites for local development
- For installing the CLI, NodeJS has to be available on your machine (https://nodejs.org)
- For TypeScript please install at least TypeScript see here
- For Java please install Java SDK and Maven see here
Install Solution CLI
- Open any previously created project.
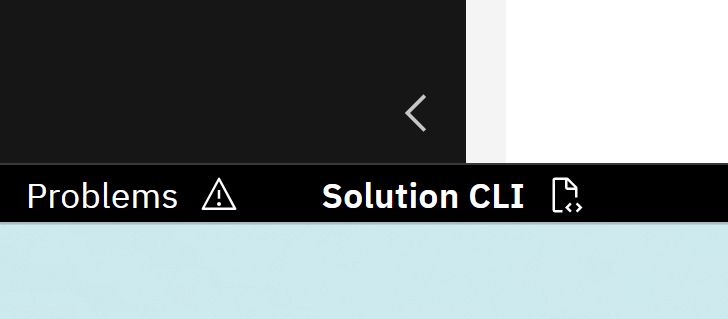
- Click on "Solution CLI" in the bottom left corner.
- Open the section "Solution CLI Setup"
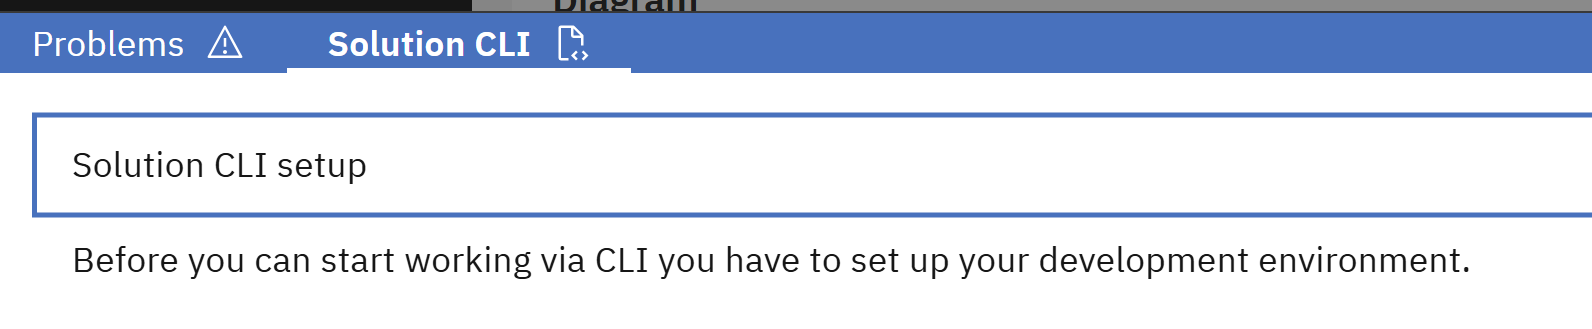
- Follow the instructions of the section to download and install the CLI. It is recommended to use the Git Bash for the commands.
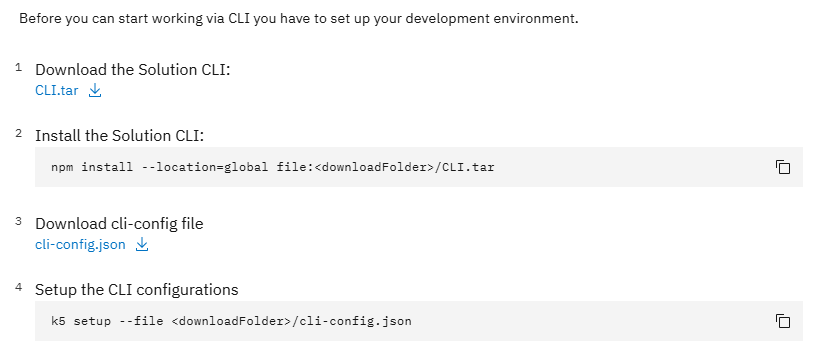
- After installing, please continue with the instructions to setup the CLI. Use your credentials from the Solution Designer to log in.
You have successfully setup your local development environment. You can now use the Solution CLI when implementing your services.
You now understand how to design solutions with the Solution Designer, manage and monitor them in the Environment page, and work efficiently with the Solution CLI for local development and operational tasks.